Unit 17: Prepare Camera Equipment for Each Day's Shoot
The aim of this unit is to further my knowledge on how to identify relevant equipment and understand how to handle, store, transport and care for it. I, along with my team (Lee Davies, Lewis Jenkins, Ryan Walker) will transport and set up camera equipment in preparation for a shoot. That particular shoot will be found in the "Projects" tab in which we will use what we learnt here to produce a number of short films. So you might find many references linking both Unit 17 and the Project page together.

 |
| Picture demonstrating how to remove camera from bag. |
 |
| 2 batteries positioned in a battery packed ready for charging. |
 |
| Batteries are fastened inside the battery grip. |
 |
| Twist to release or to lock in place. |

 |
| Can be detached from camera. |

The holder is securely fastened to the camera by the use of the wheel lock. Scrolling the wheel with your thumb for a few seconds will lock it in place. Scrolling the wheel the reverse way will release the holder.


 |
| Standard lens that's dispatched with most DSLR cameras. |
The lens has elements that are grouped together in order to be able to focus and offer the user telephoto capabilities (in the case of a zoom lens). It might also have "Image Stabilisation" in order to offer the user the ability to shoot in lower light situations because you can use a slower shutter speed. As previously mentioned, aperture is also a function of the lens. This is a very important element as without aperture the user would not be able to separate the background from the foreground with "Depth of Field". This is useful to manipulate the view into focusing on what the photographer wants you to focus on.
This technique is wildly used in both photography and film.
All lenses that you buy should come with caps which protect the camera when not in use. This prevents damage coming from lens glass. The opposite side of the lens also requires a cap to prevent any damage coming from that side of the lens.
 |
| Twist motion to lock lens in place. |
 |
| Picture shows the camera's sensor. |


In order to store all my photos and videos the camera requires a memory card. 32GB of storage is more than enough to capture all the photos and videos that I require. You'll notice that this memory card is a Speed Class Grade 10 which basically tells you the required minimum performance for reliability. In this case the Grade 10 Class is a high performance card that runs well on my semi-professional DSLR camera and runs smoothly when playing back 1080p video which is an essential for this course.
1.2: Use techniques for testing and handling relevant equipment and materials
This sub element has been covered in 1.1 to a certain extent. I will sometimes cross reference different questions because they might both cover the same topic. I have previously spoken about how to handle various equipment because it was relevant to the question but this question speaks specifically about testing and handling equipment and materials so I will, of course, be talking about it in more detail. So, just to be aware, the answers may be similar in some areas.
When holding the camera to take a picture or video there are a few things you have to do in order to achieve the sharpest shot possible. First, the camera body is designed to be gripped with your right hand and your index finger is supposed to go over the shutter release. It has been ergonomically engineered like that so it is easy to press the button without uncomfortably stretching your finger to reach it.
You will find that all buttons and functions on the camera are easily accessible. This is because the designer has designed the product to be ergonomically friendly. By doing this they use anthropometric data for hand sizes which is basically detailed measurements of a hand and use the average hand size and sculpt it on the camera. This is what designers call ergonomically friendly because the product has been designed to fit comfortably in the hands of most people.
Next, you're supposed to rest your lens in your left hand. This should allow you to twist the barrel of the lens to zoom or focus with this hand, leaving your right hand to grip the camera body. Also, tuck your elbows into your body in order to keep your camera sturdy. The more your elbows are away from your body, the more unstable you will be. Finally, a trick that many people don't know or forget is that you must control your breathing. Breathe out when you take a shot. If you hold your breath or you breathe in you'll find that you move around a lot more which can affect the quality of the image. It is amazing how much of a difference controlling your breathing can make.
Also, if the camera freezes for whatever reason then take out the batteries before doing anything else. This will shut down the camera and when placing them back inside the camera body the camera should be working fine. Do not attempt to press anything besides the battery release button because you could end up damaging your camera.
Also, if the camera freezes for whatever reason then take out the batteries before doing anything else. This will shut down the camera and when placing them back inside the camera body the camera should be working fine. Do not attempt to press anything besides the battery release button because you could end up damaging your camera.
 |
| Hand firmly gripped onto the battery holder for stabilization. |
 |
| Manually adjusting the focus ring. |

Incorrectly handling equipment and materials can have very serious consequences which may result in the equipment needing repairing, replaced or just being binned. As I have mentioned previously, you should not pick up a camera by it's lens - always use the grip because the lens is not very sturdy and could fall out of your hand.
Extended poles, used to position lights for film, are usually very sturdy however, if you carelessly position the light head incorrectly on the extended poles there is a high risk that it could fall and injure the light operator or another member of crew. It is therefore important to double check everything for health and safety reasons. Those lights are of a professional standard so if you break one it is going to cost a lot of money to replace it.
Technology in general should be treated with the most care especially in the film industry because the equipment and materials used in this sector tends to be very vulnerable to damage and is very expensive.
1.4: Describe how to store relevant equipment and materials safely and securely
As a group of novices we are understandably limited as to
what we can have access to with regards to camera equipment. Aside from my
personal camera and tripod we are relying solely on John’s (our trainer)
equipment entirely. So, this is why we do our best to make sure the equipment
and materials we have to hand are safe and secure at all times.

When we have finished a shoot and it is time to pack away all our equipment and leave the set, this is how we put away the equipment. First, we take the lenses of the cameras. We can not just leave them attached to the camera body because they could easily get damaged during transportation. As I have stated previously earlier in this unit, to disconnect the lens from the camera hold the button and twist the lens counter clockwise until it pops out in your hand.


As you can see, both lens caps fit the camera lens and are secure meaning they will not fall of. A twisting motion is also needed to click them into place. The grooves on the side of the lens cap can be pushed in to remove it from the lens.


Any other lenses that we have used for the shoot also follow the same procedure as you can see below:


 |
| Case is compact when all equipment is in so not likely to move much during transportation. |
After all the equipment has been protected it is time to put it into bags. Specifically designed camera bags should be used to store equipment for transporting or just storage in general when they are not in use. These bags should have a soft interior and have different compartments and have enough room to house a couple of lenses, the camera body, a battery charger, spare batteries and a mix of different cables. They should not move around to much in the bag either.
 |
| Different cap to protect the sensor. |
 |
| Inside of the bag is made of foam so the equipment stays safe. |
 |
| Case is fitted with dividers to separate the equipment. |
As you can see, the camera and lenses are secure and unlikely to move too much. All wires and other materials are stored away in compartments which also prevents them from obtaining any damage.
 |
| USB lead used to transfer files from camera to computer. |

Cables have their own specific place within in the bag via pouches which are easily accessible.
Once everything is inside the bag, we make sure the zip is closed as well as the hook device enabling complete safety.

The draws and cupboards are locked with a key when we aren't in and kept in the building overnight so no one can access them.


 |
| I take the key home every night so no one else has access to it. |
1.5: Describe procedures and products for cleaning and maintaining relevant equipment and materials
From time to time camera equipment will get dirty. This cannot be prevented because it is almost impossible to not be on a location and have some dirt inhabit the lens. This is why it is vital to clean your equipment regularly to avoid damage. Many people assume that camera equipment require high quality cloths with specialised chemicals but that is just not the case. Although a high fibre cloth can clean the lens glass brilliantly, a fair amount of dirt can get stuck to the the cloth fibre. This is because lens cloths are made from a material that, if left for a certain period of time, can attract dust and dirt. So wiping a dirty lens with a dirty cloth isn't going to give you a great outcome. Other options include using a piece of kitchen role that once you have finished wiping the dirt off the glass you'd just through it in the bin. Other cleaning equipment such as chemicals and liquid solvents can have a bad effect on the glassware. It is a good idea to apply a smudge of the chemical on the rubber part of the camera body to see if the product reacts with the material. If it does then that is usually not a good sign. Asking a specialist about what type of products work best is definitely worth the effort as you do not want to ruin a perfectly good and expensive lens. Adding a small amount of water to the paper role could help with any stains a finger prints the glass may have but make sure you don't drench the lens in water as that can severely damage it. Nevertheless, it is always recommended to refer back to the instruction manual when cleaning your equipment.
1.6: Describe how to charge batteries safely


 |
| Red light indicates battery is charging. |
 |
| Estimated 2-3 hours for full charge. |
1.7: Describe how to order relevant equipment, identifying sources
There are many different ways to get your hands on specific equipment. If you are looking for something general like a Canon camera then most big retailers will be able to provide it however, looking for a gimbal or high quality lenses is a different matter. This type of kit is rarely found in your common retail store because there isn't a high enough consumer demand. You would only expect to find this equipment at specialised camera stores that cater towards the budding photographer or filmmaker.
It may come as no surprise to you but camera equipment can be very expensive. As you start getting more confident with your equipment you may start to explore other devices that help deliver certain specialised shots like the crane shot. Some stores give you the option to rent equipment rather than buy it if it is only required for a couple days. You may pay an insurance fee in case the equipment borrowed is damaged followed by a fee per day for lending the equipment. This is usually more cost effective than buying that piece of equipment straight outright.
Online stores open up a whole different ball game. You can find hundreds of websites on the internet that sell camera equipment and accessories. This is a great option for someone who is on a tight budget. You'll be surprised by how much you can save just by comparing the prices of equipment on different websites. But be careful ordering equipment online. Sometimes equipment on websites are cheap replicas of brands and may get broken within days. These types of deals also do not come with any warranty so you won't be able to replace them or get a refund.
One reliable online store would be MPB Photographic. This company has a long experience with photography and filmmaking and only allow products to be sold on their website if it meets their specific requirements. MPB Photographic have a wide range of products that will suit novices and professionals. Below are a couple screenshots taken which give you an example of what I am talking about:

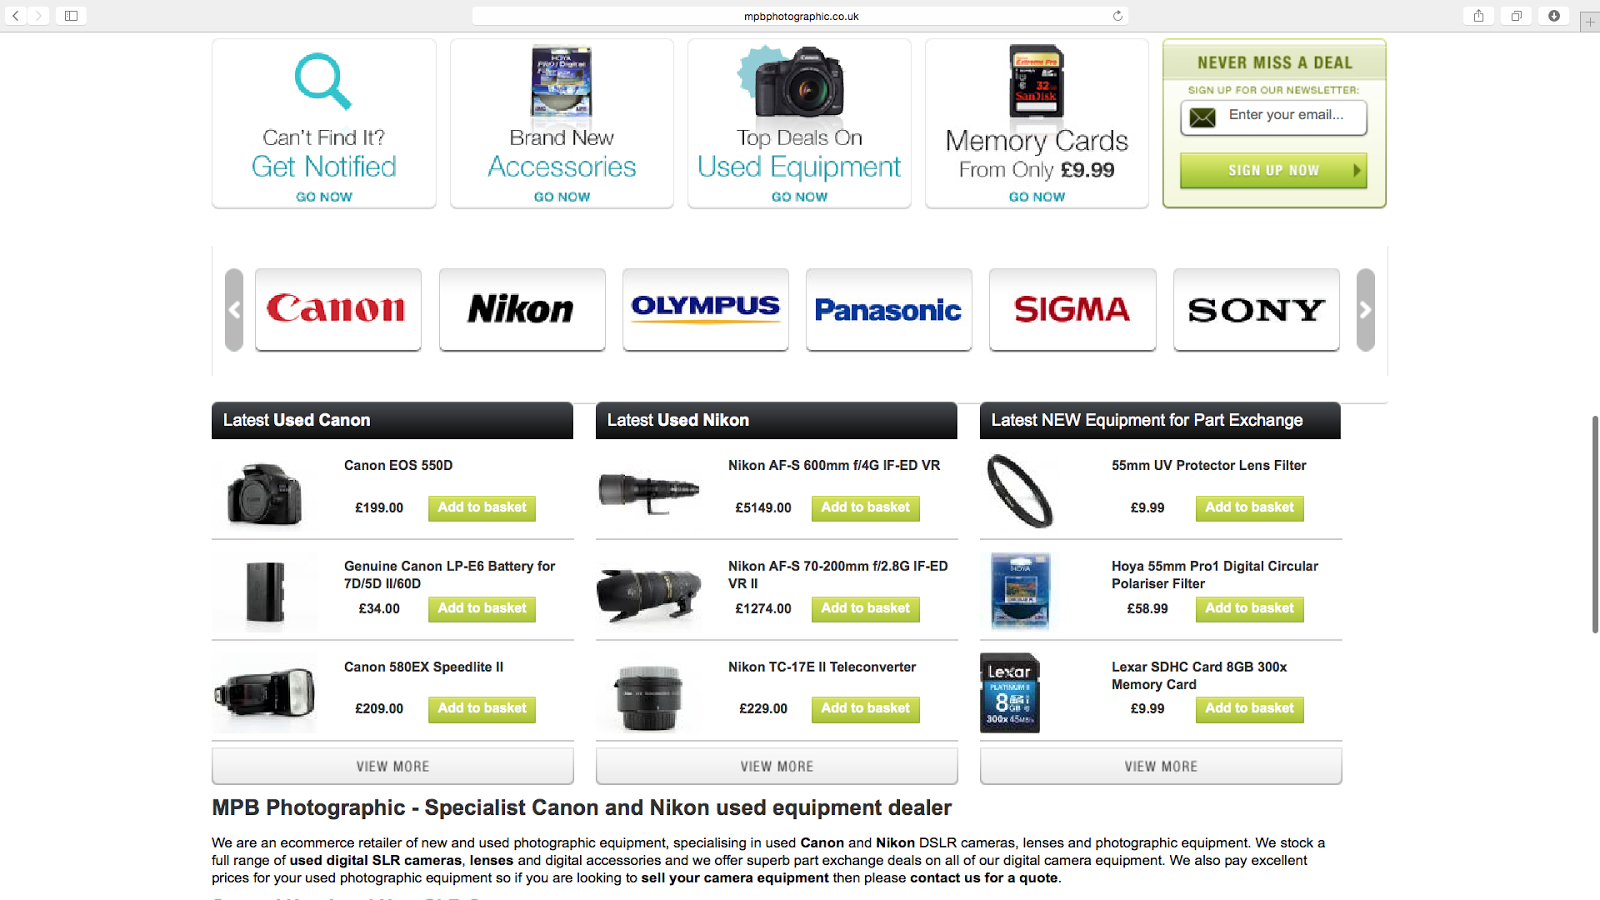 |
| Range of brands to choose from showing that they are unbiased. |


| Legitimate website that provides a reliable service. |
1.8: Follow manufacturer's instructions for relevant equipment
When you purchase new equipment, they normally come with a host of other accessories including an instruction booklet or leaflet. This gives you a step by step guide of how to set up and use that piece of equipment. For this example I will be referring to my personal Canon 1200D camera. This too came with an instruction manual. Its contents included how to use all the features on the camera as well as what they are used for. It covered everything from aperture to focusing and zooming. Below are photos of the instruction manual that came with my Canon 1200D camera. This camera has been used to produce all of my short films so it was important we knew how to operate the camera.


2.1: Liaise with appropriate parties to confirm specific requirements for a shoot and 2.2: Liaise with appropriate parties to check that equipment requirements for a shoot are met
When we were planning the Short Film #2 located in the "Projects" tab communication was vital. Ryan Walker, another Digital Media Apprentice, does not work at the same building with us so we were restricted as to what days we could go out and film. To further the complication, the shoot took 3 days to film in total which meant we had to wear the same clothes as we did on the first shoot or else there would be obvious continuity errors. This is why we had to make sure our communication was spotless to risk complicating matters even further. The types of communication we used were texting when we were out on location and our work Facebook pages which we used to keep in contact with John when we were office based. Using appropriate terminology, to which we all understood, this helped to confirm specific requirements for a shoot such as the script, storyboards, shot list and the quantity of equipment required . We were working on a deadline so we couldn't risk leaving anything behind so successfully liaising to my team mates via phone calls, texts, emails which helped get the project finished. Now because the only equipment we use are either provided by John or are our own a fair bit of communication is needed to make sure the right equipment is transported to the set on filming day. If a particular shot is needed to be filmed then the piece of equipment that will help us achieve that shot should be brought and that can be done through liaising with the appropriate party. For example if we were attempting a tracking shot, a monopod or gimbal may be required so that the shot looks smooth.
3.1: Interpret requirements of a call sheet prior to a shoot
A call sheet is drafted by the assistant director that is issued to the cast and crew of a film production to inform them of when and where they should report for a particular day of filming. It is essentially a schedule containing everything you need to know with regards to a day working at a films set. Below is an example of a blockbuster movie call sheet outlining all the key features it has:

3.2: Test all relevant equipment prior to a shoot
I am testing relevant equipment in these videos prior to a shoot. I test the camera firstly by turning the focus ring to make sure the movement is smooth and does not jar. Secondly, after testing to check if there is any power in the camera, I checked the camera settings on the menu screen to make sure the camera was set to the appropriate features. I would alter these features if it was required because it depends on a particular scene. At the end of the first video I was also testing the zoom barrel by looking through the screen. I also made sure the video camera feature was in full working order.
The 2nd video shows myself testing to see if the tripod is in full working order and so it is not likely to break during mid shoot. In the video I tested to see if the leg locks opened and closed smoothly, if the positioning handle could turn once I loosened the clamps and if the extendable center column could extend.
After I conducted both tests and I was satisfied with the condition of the equipment, we were ready to start shooting.
3.3: Assess the shooting environment at a shooting location
When we filmed "The Old Farm" we had to take picture of the location to make ourselves visually aware of the environment we would be working with. This evidence is explained further in Media Project.
 |
| Trip and fall hazard. Be careful when operating equipment in the area. |
 |
| Open grassland area provides plenty of movability to shoot from different angles. |
 |
| Little shelter so must film when there is little chance of rain. |
 |
| Fenced off area. CCTV in operation so being respectful to the location is essential. |
 |
| Close to a main road. For safety reasons no filming should take part near it. |
 |
| Shrubbery everywhere. |
This form was downloaded from a copyright free website to use in scenarios such as this one. This would therefore protect us from potentially breaking the law by trespassing on private property.
3.4: Organise the working layout of a camera truck
Unfortunately, due to us being apprentices, we do not have access to a camera truck. What we do have however, is another form of transport being a car. This vehicle transports ourselves and the equipment to the set with no problem whatsoever. This is suitable for us because we are amateur filmmakers and not a professional production company.
In that scenario a camera truck would be needed to manage and hold all the equipment for transport.A typical camera truck might include logos of the production company plastered on the side of the vehicle to help identify the vehicle. There are normally 4 seats in the vehicle with space to stand at the back. Also, many camera trucks have external and expensive equipment fitted onto their roofs to film a number of different shots such as the crane shot and a tracking shot. Below is an example of what I am talking about:

3.5: Prepare and manage equipment bags
As you can see in the above, this camera bag is especially tailored for cameras and lenses. Tripods obviously require a different type of bag like the one pictured below:
 |
| Spacious, light with two straps for easy transportation. |
When we are using the equipment the bags are kept in a safe, clean place and are fastened/zipped.
 |
| Bag is fastened and safely kept out of the way of filming |
3.6: Establish an appropriate on set location for relevant equipment and 3.8: Unload all relevant equipment on a set
This video shows myself and Lee establishing an appropriate on set location for relevant equipment as well as unloading all relevant equipment.
As you can see from the video above we placed the camera and tripod at the corner of the room for two different reasons. The reasons were that it was less likely anyone would knock into them when walking around the set. The second reason we placed the camera in front of the window was so that the audience does not see the reflection of the camera in the window. We also did this to prevent too much light or dark shots. We weren't using our own lighting so we had to rely on natural light which sometimes proved difficult to manage.
During our film projects an appropriate place to store our equipment while on set was important. The pictures and the captions illustrate where we placed the equipment and why we placed them where we did.
 |
| All equipment was kept together so we knew what we had and if anything was missing. |
 |
| They were placed on padded chairs. |
 |
| They were kept away from the door to prevent injury to individuals or damage to the equipment. |
 |
| The equipment was also placed out of view when filming. |
3.7: Transport all relevant equipment to a set
This video shows how we transported equipment to our film set. Thanks to another member of the team owning a car we could travel to the set with ease. As you can see in the video, the equipment was placed safely in the boot protected further by the plush camera bags. They did not move around during transportation. When we arrived at the location it took a 5 minute walk to get to the film set.
3.9: Select and acclimatise relevant glassware
It is inevitable that when you put specialised equipment like a lens in a different environment, that piece of equipment may take time to adapt. For example if you were filming in doors but then suddenly decided to move outdoors to film, you would notice a drop in quality. This could include it being out of focus or maybe the light levels are different in which the white balance and the exposure may need to be changed in order to acclimatise with the new temperature and environment. This could be because of condensation. For example, if you were filming in the snow but decided to move into the warm indoors a fair amount of condensation will be built up on the glass, both internally and externally, so it is important to thoroughly check your lenses over if you have moved from one extreme to the other. It is important for each different environment that you film, let the lens adjust so this needs to be considered in the planning stage when discussing the timescale of the project.
Another common problem is lens flare. This can be a really cool effect if done correctly however you don't want to have it in every single shot as it is distracting. As you can see below, one photo has been taken from indoors while the other has been taken outside. You should be able to see the obvious difference.


4.1: Identify key health and safety issues and procedures
Below is a risk assessment form that we were required to fill out before shooting Short Film #2. I decided to use this form for 4.1 because it illustrates the amount of risks and hazards present and the amount of procedures put in place to ensure everyone's safety.You will notice these risk assessments quite a lot, especially during the filming projects because we needed to assess the risks and hazards so no one would get injured.

4.2: Identify any special requirements to ensure the safety and security of relevant equipment when unattended
When shooting outside it is always an advantage to bring a waterproof tarp as this will keep your equipment and bags dry. "The Old Farm" involved us getting up close to an old building which looks slightly unstable. To prevent injury or damage to the equipment we decided not to go anywhere near the decaying parts of the house. The equipment was placed in the open but yet, out of sight from any passing onlookers.

The pictures are great BUT I need to be able to see you face in them. You're on a couple but you should be in them all. Other than that really good unit.
ReplyDeleteI have uploaded more photos with myself in them. Once we have finished Short Film #3 I will finish this Unit off completely because I need that content in order to complete this unit.
ReplyDeleteEvidence from Short Film #3 has been uploaded. This Unit is complete.
ReplyDelete